SDK 101
The Decentraland SDK is a powerful tool that lets you create scenes by writing in Typescript (Javascript + Types).
This mini-tutorial walks you through how to get set up, and shows you the basic parts of a Decentraland scene.
Install the CLI
The Command Line Interface (CLI) allows you to compile and preview your scene locally. After testing your scene locally, you can use the CLI to upload your content to Decentraland.
Note: Install the following dependencies before you install the CLI:
- Node.js (version 14 or later)
To install the CLI, run the following command in your command line tool of choice:
npm install -g decentralandCOPY CODE
TIP: If you don't know how to open the command line, in Windows: right click on the Start button, then search for "cmd" and select the "Command Prompt". In Mac: open the Launchpad and look for "Terminal".
Read Installation guide for more details about installing the CLI.
Create your first scene
Create a new scene by going to an empty folder and running the following command:
dcl initCOPY CODE
TIP: If you don't know how to point the command line tool to a folder: first create the folder via the file explorer, then in the command line write "cd" (short for "change directory"), followed by a space. Drag the new folder from the file explorer window to the command line window. It will autocomplete the command to include the full path to the folder. The resulting command tells the terminal to change directory to that folder. Then press enter.
The dcl init command will prompt you about what kind of project to create. Select Scene, then pick the first option, Cube Spawner.
Preview the 3D scene in your browser by running the following command in that same folder:
dcl startCOPY CODE
Read more about the scene preview in preview a scene
Edit the scene
Open the src/game.ts file from your scene folder with the source code editor of your choice.
Tip: We recommend using a source code editor like Visual Studio Code or Atom. An editor like this helps you by marking syntax errors, autocompleting while you write and even showing smart suggestions that depend on context. Also click on an object to see the full definition of its class.
Change anything you want from this code, for example change the x position of the first cube entity that's spawned (on line 42). If you kept the preview running in a browser tab, you should now see the changes show in the preview.
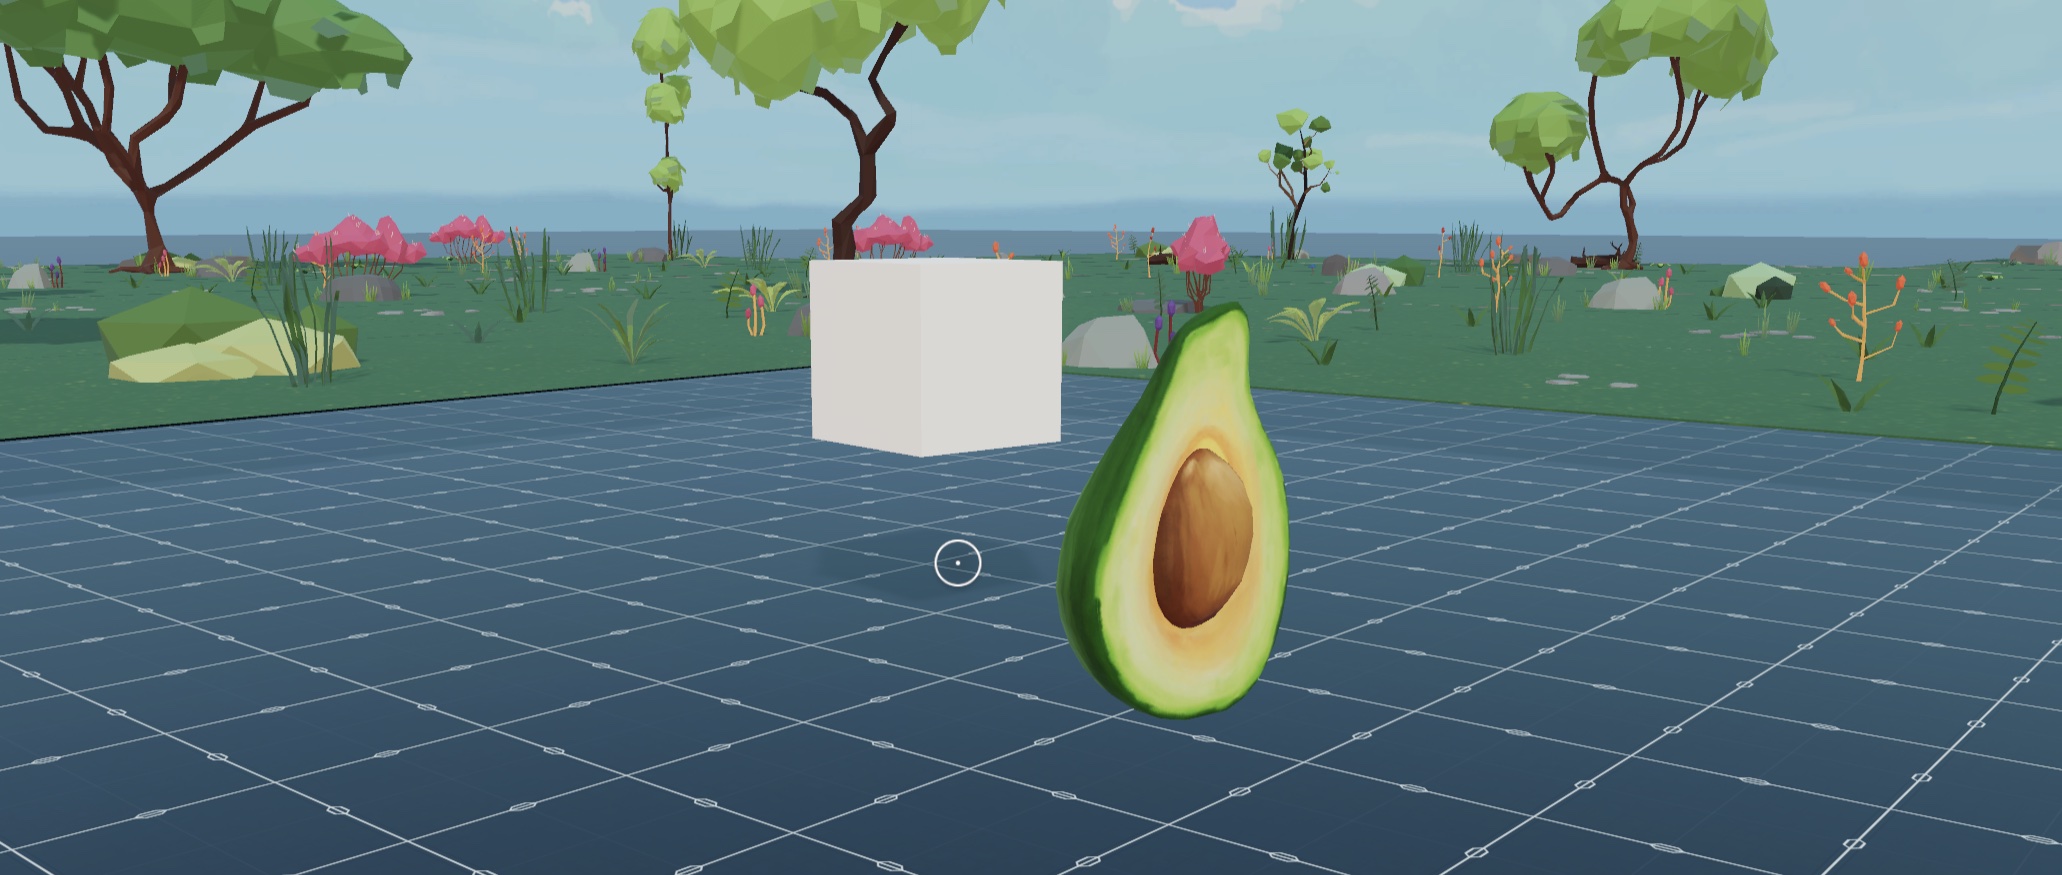
Download this 3D model of an avocado from the scene's GitHub repo in glTF format. link.
Create a new folder under your scene’s directory named /models. Extract the downloaded file and place all of its contents in that folder. Note that there are several files that make up the 3D model, all of them must be in the same path.
At the end of your scene’s code, add the following lines:
let avocado = new Entity()avocado.addComponent(new GLTFShape("models/avocado.gltf"))avocado.addComponent(new Transform({position: new Vector3(3, 1, 3),scale: new Vector3(10, 10, 10),}))engine.addEntity(avocado)COPY CODE
You can also download the finished scene from its GitHub repo.
Check your scene preview once again to see that the 3D model is now there too.
The lines you just added create a new entity, give it a shape based on the 3D model you downloaded, and set its position and scale.
Note that the avocado you added rotates, just like all other entities in the scene. That's because the RotatorSystem system that was defined in the default code of this scene is iterating over every entity in the scene and rotating it. If you remove this system, entities stop rotating.
The Utils library
The Decentraland ESC Utils library includes a number of helper functions and specialized components that make it easier to carry out a lot of common use cases.
To use any of the helpers provided by the Utils library:
Install it as an npm package. Run this command on the command line, from your scene's project folder:
npm install @dcl/ecs-scene-utils -BCOPY CODERun the following for the scene to build the necessary files inside the library's folder:
dcl startCOPY CODEAdd this line at the start of your
game.tsfile:import * as utils from "@dcl/ecs-scene-utils"COPY CODEIn your TypeScript file, write
utils.and let the suggestions of your IDE show the available helpers. You'll see there are a number of functions you can run and of components that can be added to entities.Add the following component from the
utilslibrary to your avocado entity to make it slowly grow. The provided arguments make it grow from a scale of 1 to a scale of 5 over a period of 10 seconds:avocado.addComponent(new utils.ScaleTransformComponent(new Vector3(1,1,1),new Vector3(5, 5, 5),10))COPY CODEThe
ScaleTransformComponentrequires the following parameters:start: Starting scale.end: Ending scale.duration: Duration (in seconds) of start to end scaling.TIP: Your code editor will hint this information to you once you typed
new utils.ScaleTransformComponent(.
Notice that the
ScaleTransformComponentcomponent also takes two other optional more advanced parameters that you can play around with:onFinishCallback: A function that is called when the transition ends.interpolationType: Type of interpolation to be used.
avocado.addComponent(new utils.ScaleTransformComponent(new Vector3(1,1,1),new Vector3(5, 5, 5),4,()=>{ log("FINISHED") },utils.InterpolationType.EASEOUTELASTIC))COPY CODEIn the fourth parameter, a very simple function prints the text "FINISHED" to the browser console once the transition is over.
TIP: To read the message that is printed to the console, in Chrome go to View > Developer > Javascript console.
The final parameter tells the component to perform the transition using an ease-out elastic interpolation, which results in a speed curve that goes from fast to slow and ends with a bouncy effect.
To learn more about the ECS Utils library, read its full documentation here.
More Tutorials
Read coding-scenes for a high-level understanding of how Decentraland scenes function.
Read our tutorials or view or video tutorials for detailed instructions for building basic scenes.
To see our official example scenes, with links to their code, see scene examples.
See the Development guide section for more instructions about adding content to your scene.
Engage with other developers
Visit Discord, join a lively discussion about what’s possible and how!
To debug any issues, we encourage that you post issues to the SDK Support category Decentraland Forum.
You can also post to Stack Overflow, using the tags decentraland or decentraland-ecs.
You can also ask in Discord. In the Support section, the #sdk channel is for questions regarding code, the #builder-and-3d channel is for questions regarding 3D models and art. #code-contribution is for discussing PRs to the SDK codebase.
3D Art Assets
A good experience will have great 3D art to go with it. If you're keen on creating those 3D models yourself, you're encouraged to, see the 3D Modeling section of our docs for more info. But if you prefer to focus on the coding or game design side of things, you don't need to create your own assets!
Here are a few tips to get great 3D models that you can use in a Decentraland scene:
- Build a scene in the Decentraland Builder and export it, together with all its assets, to keep working on it with the SDK.
- Download all the 3D assets available in the Builder from this repo
- SketchFab
- Clara.io
- Archive3D
- SketchUp 3D Warehouse
- Thingiverse (3D models made primarily for 3D printing, but adaptable to Virtual Worlds)
- ShareCG
Note: Models must be in the supported
.gltfor.glbformats, and must have a number of triangles, textures and materials that adhere to the scene limitations. If getting models from a third party site, pay attention to the licence restrictions that the content you download has.
Publish your scene
If you own LAND, or have permissions given by someone that does, you can upload your scene to Decentraland. See publishing.
If you don't own land, you can still upload your scene for free to third party services, so you can easily share your creations with others as a link. See Deploy to third party.